clip studio paint animation camera
This is shown when exporting a movie file in AVI format. Clip Studio Paint comes in three grades.

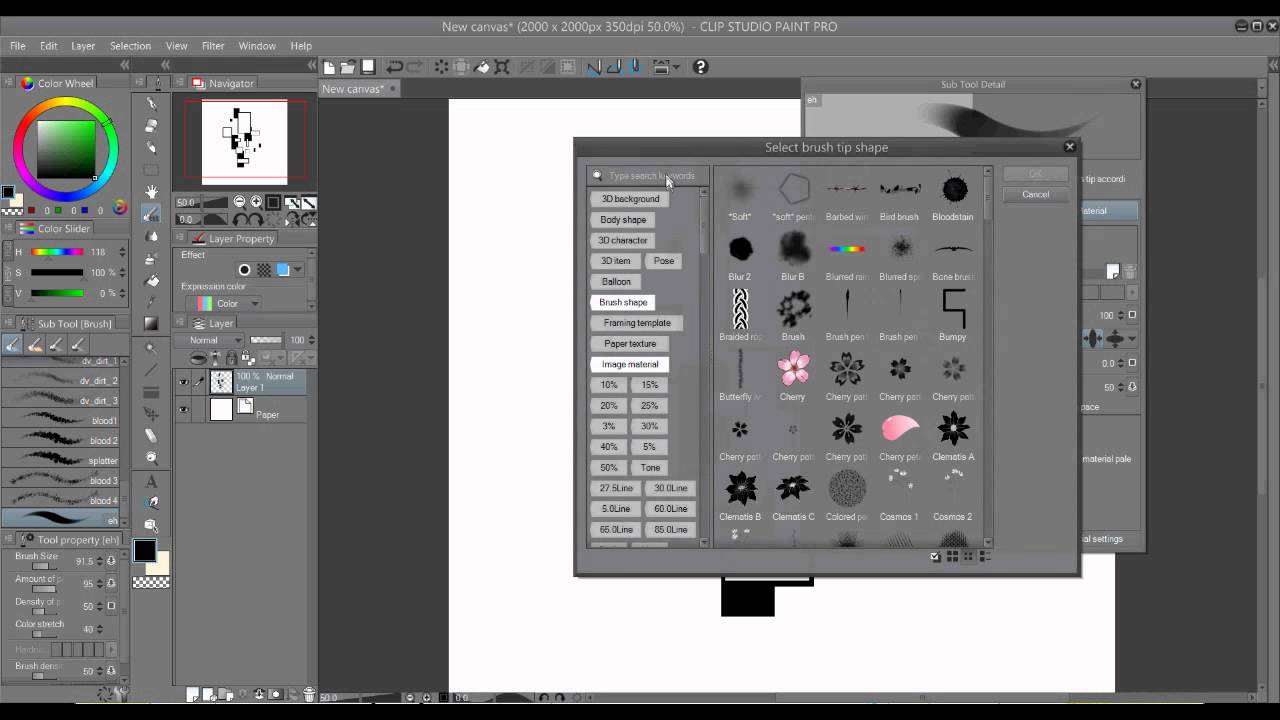
How To Make Simple Animation In Clip Studio Paint Ex Manga Studio 5 Clip Studio Paint Tutorial
Ad Turn your photos into cartoons effect.
. Display color and Opacity of the 2D camera folder can be set via Camera pathCamera in the Preferences dialog box. Keeps the transparent areas of the canvas transparent when exporting. Create and edit keyframes.
Go to File New and click on the red icon that has a play button in the use of work section. Displays the xaxis animation curve. Design your animated visuals easily with VistaCreate.
Hello everybody its a little last minnute but Im back at it again and todays offering is one most delectable I hope. When active videos can be exported with the camera movement set in the 2D camera folder. 2 Under the Layer palette drag and drop layer 1 and 2 into Folder 1.
In this tutorial Ill show you how keyframes work in Clip then how to add cameras and use keyframes on those. As for the method of moving the camera There is also a link to which Mr. Free Shipping on Qualified Orders.
2 Click the Enable keyframe for layer icon. You can also specify the axis you wish to display by checking the checkbox. Create and edit timeline.
This page explains the differences between each grade. Is Clip Studio Paint actually good. Easy camera movement tutorial for clip studio paint.
Ad Refresh your content with animations. Select your photo click on CARTOONIZE. Animating the illustration.
With Clip Studio Paint you can edit adjust the timing of each frame add camera work and audio to your animation without switching programs. The answer image is for Windows version but it is the same for MacOS. When active this is set to the selected frame in the Timeline pallette and shows the camera movement from the 2D camera folder.
The best and online Cartoonize software. Animated illustrations and animations 7. Surprise your audience with awesome animated visuals on your social media.
Ad Buy zu3d animation kit at Amazon. It s not possible to draw while adding camera. Click the Switch to Graph Editor icon to display the x and y axes.
Change the type of Keyframe interpolation from Function curve editing mode to Smooth and adjust the curve of the graph. You can set the frame rate when exporting a video. 4 Apply 2D camera effects.
1 Select the animation folder to which you want to add camera work. And then a BONUS TIP at the end about how to. It has an excellent variety of paint tools and color options access to a free library of over 10000 assets and its easy to use especially if youre.
I did change the Keyframe Interpolation to smooth but it really doesnt fix the problem. The only ones that really matter are the size resolution frame rate and size of the blue borders. Displays the x or yaxis of the animation curve.
To draw a picture remove Enable keyframes for layers. EX PRO and DEBUT. Drag along the red ring.
8 A Clip Studio account is required to back up or recover software settings. If you use PRO or EX When creating a canvas select Animation. The focal point is moved at the same time the camera is rotated in the direction of the.
I want to know how to zoom in and out in animation as well as do the shaking camera effect like in animated videos if you do know this option please explain to me and show me pictures examples. 1 From the Animation menu select New animation layer Animation folder and create an animation folder named Folder 1. About Press Copyright Contact us Creators Advertise Developers Terms Privacy Policy Safety How YouTube works Test new features Press Copyright Contact us Creators.
On the other hand you can no longer draw pictures. Drag along the blue ring. Allows for viewing the Animation curve list and making a selection.
Show 2D camera frames. Ive been meaning to cover some of. The camera rotates in the direction of the ring with the same camera position and focal point.
Set the reference size to 1280 720 Please set the drawing size and margin setting to a larger size and try drawing. The top of the camera frame is shown with a thicker line. When you press this you can add camera work.
The Roll value in the Tool Property palette changes according to the rotation angle. Once the two layers are stored in the animation folder they will be hidden. Ad Get better results faster and easier than ever with the NEW PaintShop Pro now.
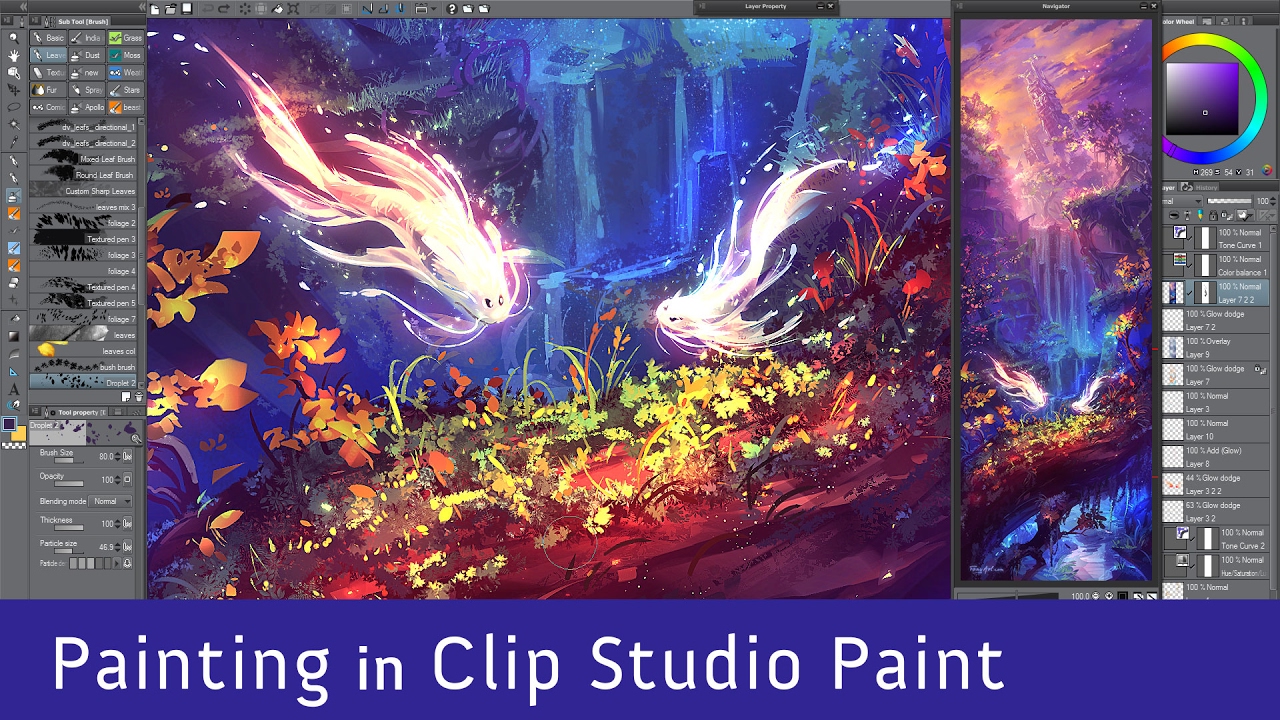
Dusk Fish Home Digital Painting In Clip Studio Paint Manga Studio
Clip Studio Paint Tutorial How To Make Your Own Patterns

Clip Studio Paint On Twitter Clip Studio Paint Painting Organic Form

Intuos Comic Coloring In Clip Studio Paint With Cat Farris

Clip Studio 2d Animation Camera Movements And Rotations W Perspective Short Behind The Scenes

How To Animate In Clip Studio Paint The Easy Way Tips Tutorial
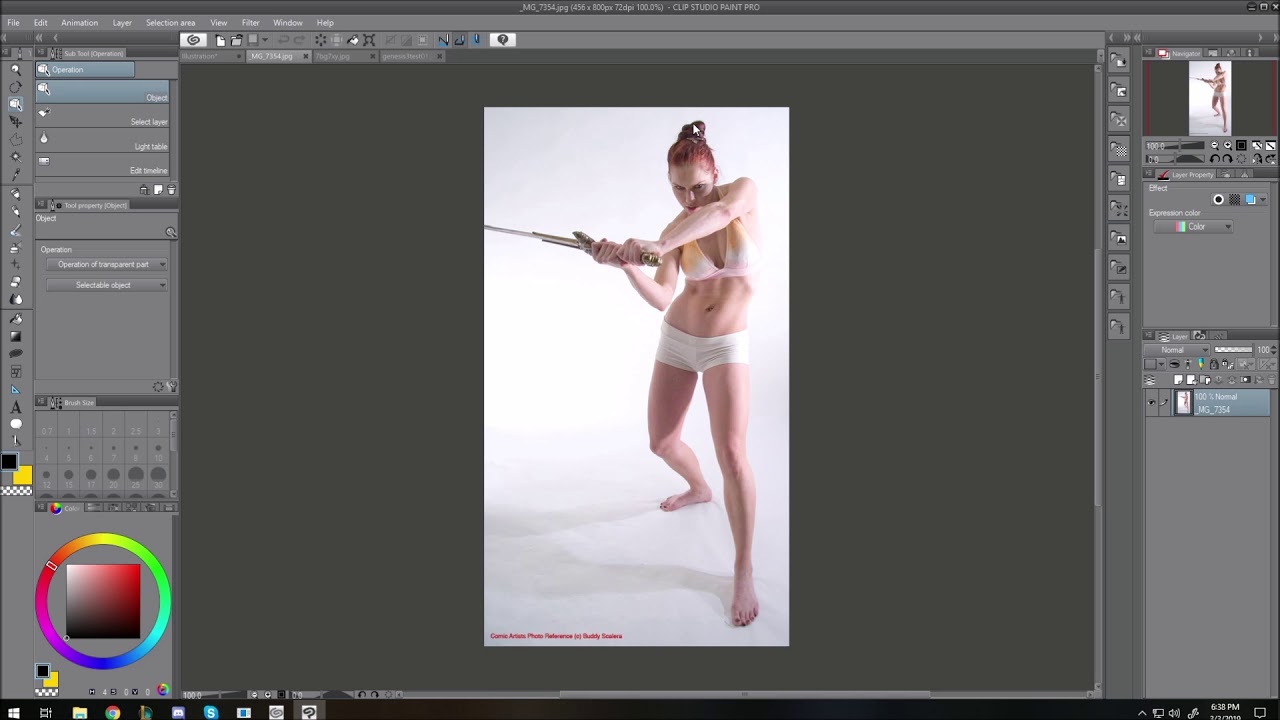
Pose Scanner Demo Clip Studio Paint Pro

How To Add Anime Feeling In Composite With Clip Studio Paint And Hitfi Clip Studio Paint Glow Effect Make It Yourself

Clip Studio Paint Pokemon Photography Speedpaint

Clip Studio Paint Pro Software For Illustrations Comic And Manga Creation

Animation In Clip Studio Paint Clip Studio Paint Animation Creative Gifs

How To Make Webtoon Backgrounds Webtoon Background Tips

How To Use The Symmetry Tool In Manga Studio 5 Clip Studio Paint

Clip Studio Paint The Artist S Software For Drawing And Painting

Clip Studio Paint Perspective Tool Tutorial Manga Studio 5

Learn To Illustrate Your Feeling Using Clip Studio Paint

Top 20 Clip Studio Paint Free Tutorials Improve Your Drawings

Anime Style Coloring With Clip Studio Paint

Manga Studio 5 My Brush Pen Pencil Settings